Setting up the M5Stack Cardputer ADV with Launcher and Meshtastic
Introduction
This post will go over setting up the M5Stack Cardputer ADV with the LoRA Cap (or the Mesh bundle) to work with Meshtastic. The Cardputer ADV has the advantage that it can act as self contained Meshtastic node, and can send and receive messages without requiring a mobile phone. This makes it for a great demonstrator of Meshtastic's capabilities.
Meshtastic is a distributed wireless communication protocol that uses the uses the 915 MHz band to form a mesh network. It's a great way to communicate over short and medium distances, and it doesn't require an amateur radio license.
While you can install Meshtastic directly on the device, for this post I will go a more flexible route. Launcher is a bootloader for ESP32, that allows multiple firmwares to be installed on demand, from the device's built in SD card. It's great for testing out different version, or even switching between Meshtastic and Meshcore, should you so chose.
The hardware
The device is an ESP32 S3 based microcontroler with a full keyboard, OLED display and an expansion port that takes the optional LoRA + GNSS expansion cap.
It has built-in Bluetooth and WiFi, as we as SD Card slot which will come in handy for later.
Installing Launcher
The first step is installing Launcher, which will act as the boot loader for our firmware.
To install, we need to launch the flasher. In order for webserial to work you will need a Chromium based browser (like Chrome, or Edge), or the latest version of Firefox1.
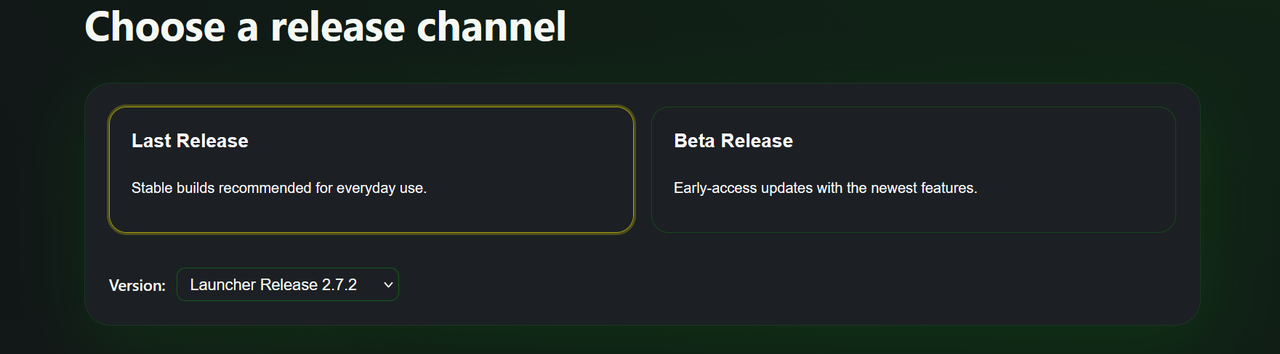
Select the correct version, in this case, latest,
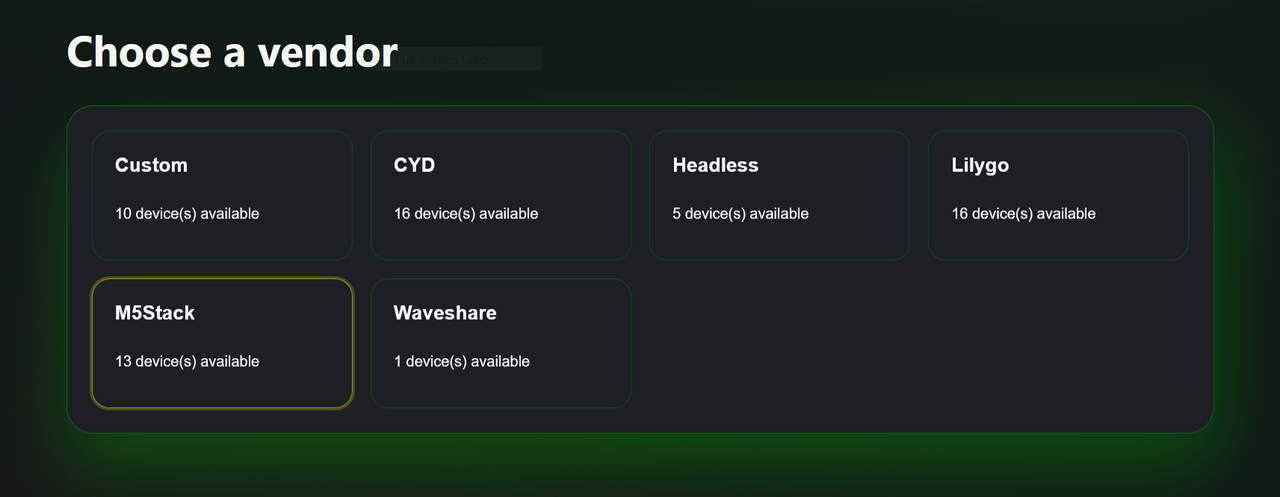
the manufacturer, "M5 Stack",
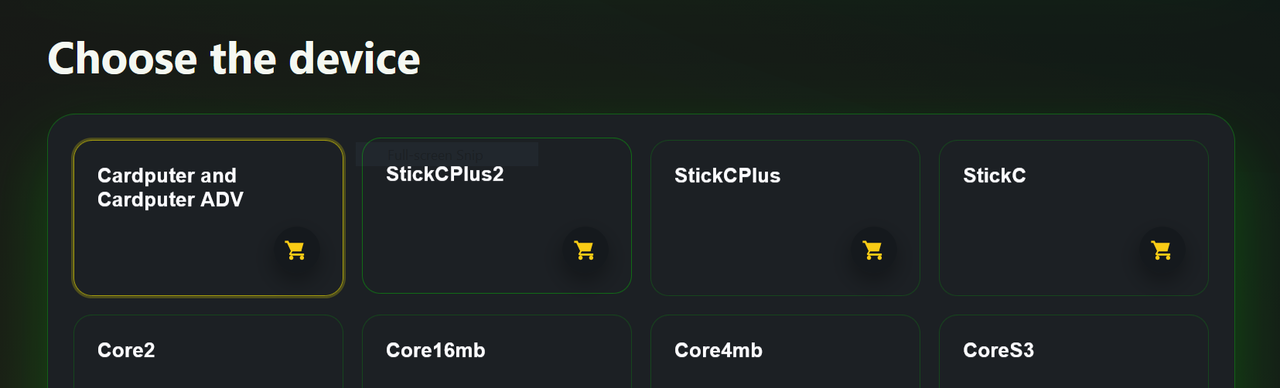
the device,
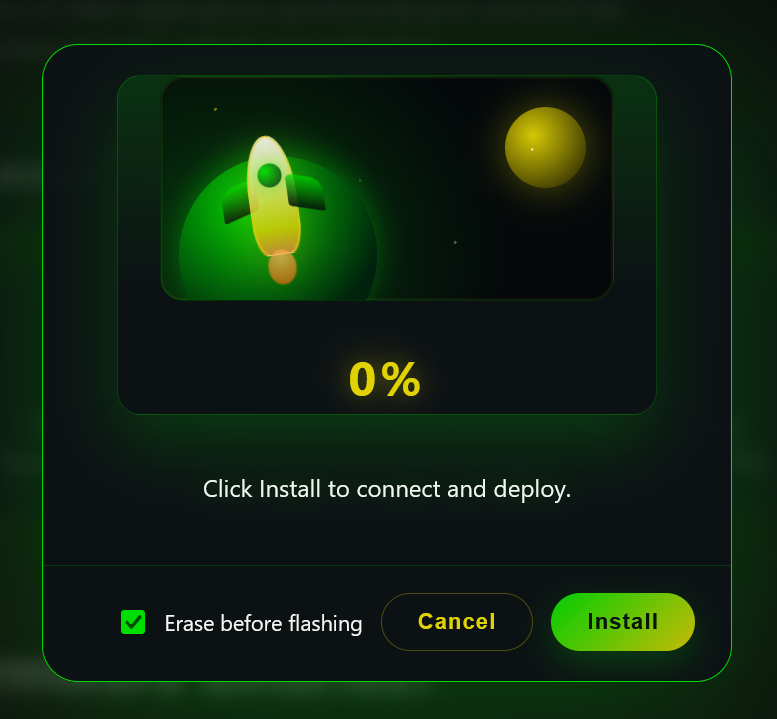
and select "Install".
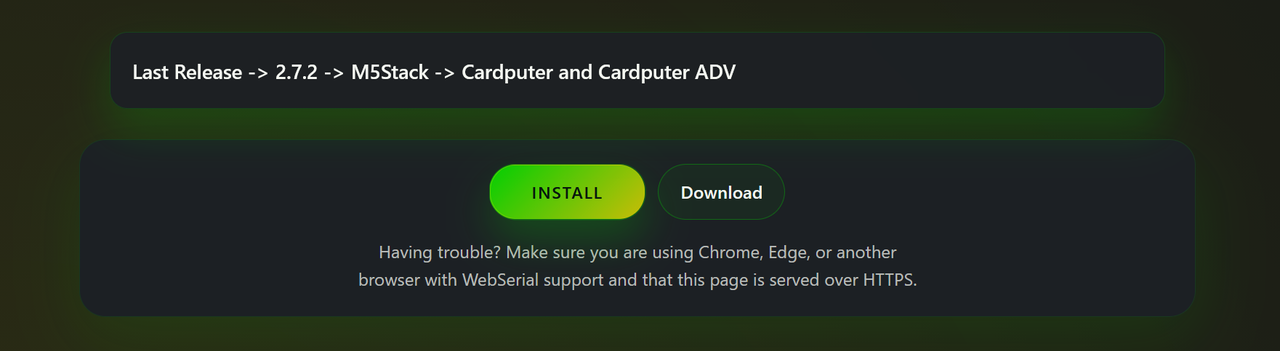
I recommend selecting the "Erase before flashing" option, to get a clean delete.
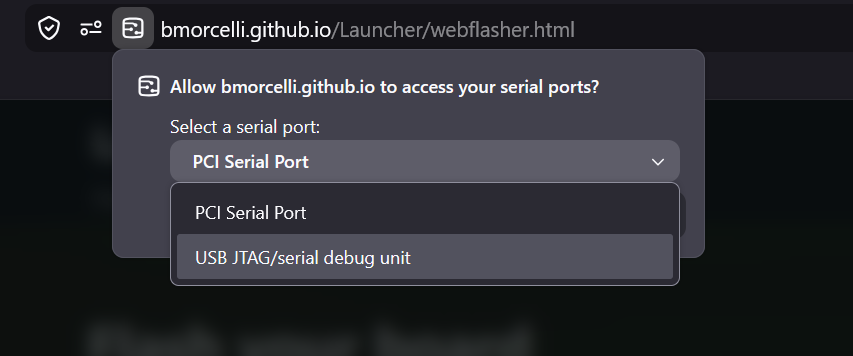
Once you click install, the browser will prompt you to select the device to flash. The "USB JTAG/Serial debug unit" is the correct one to select2.
Launcher is now installed, and ready for the next step.
Meshtastic
Next step requires an SD Card (I used a 32GB one, which is more then enough for this use case ), that is formatted as FAT32, like in the olden days. On this drive, we'll store our firmware binaries.
You can download the official firmware from M5Stack, or build your own. Then copy it to the root of the SD card.
Once that's done, insert it into the device and turn it on. I'll go through the startup process of selecting the firmware.
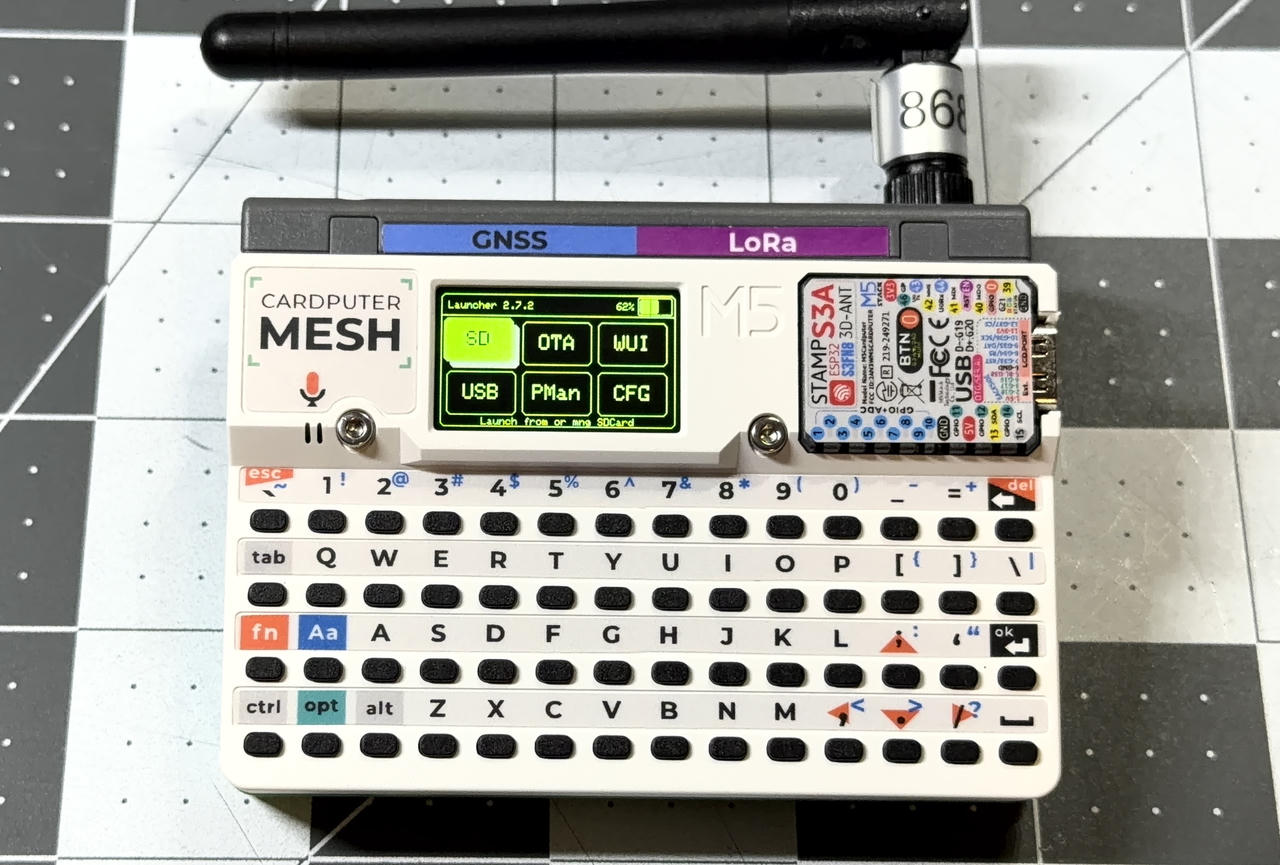
On first boot, you'll be prompted with this screen. Select SD Card.
Then select the meshtastic.bin file we just uploaded to the SD card.
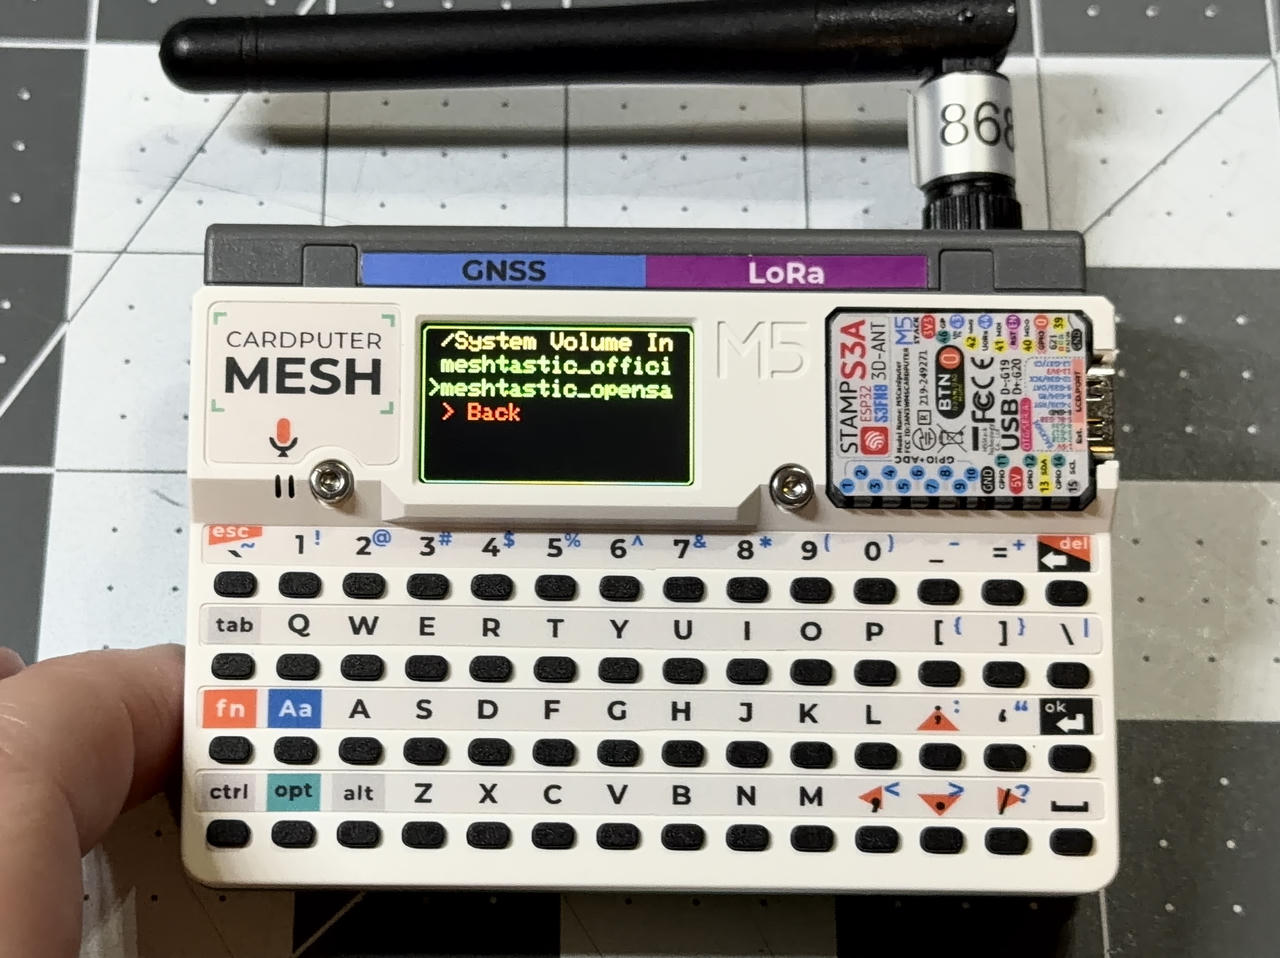
Then select the "Install" option
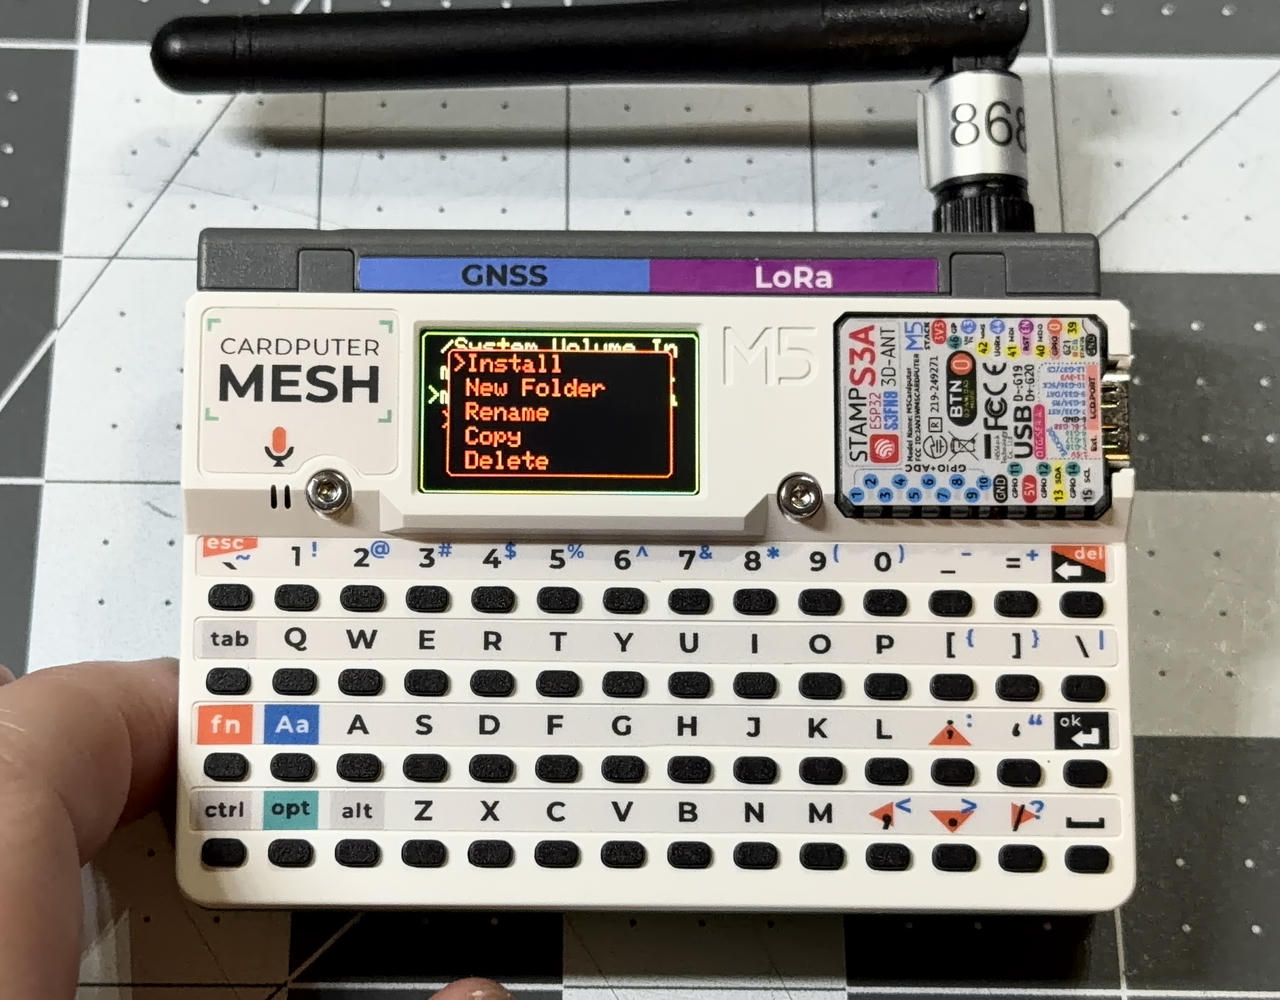
The firmware will be installed to the microcontroller's memory,
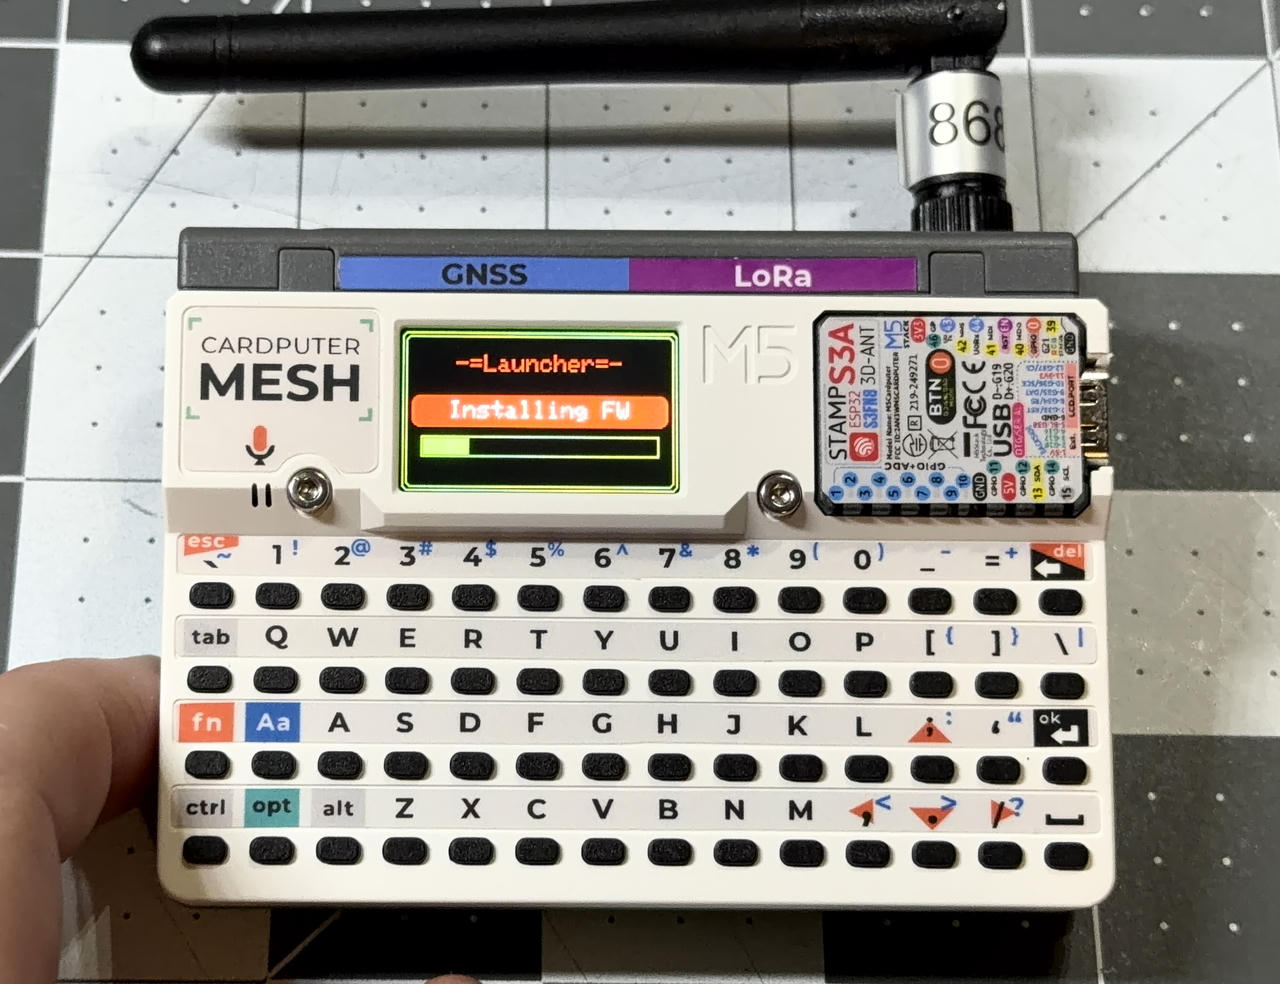
At the end, you'll be greeted with the Meshstatic loading screen.
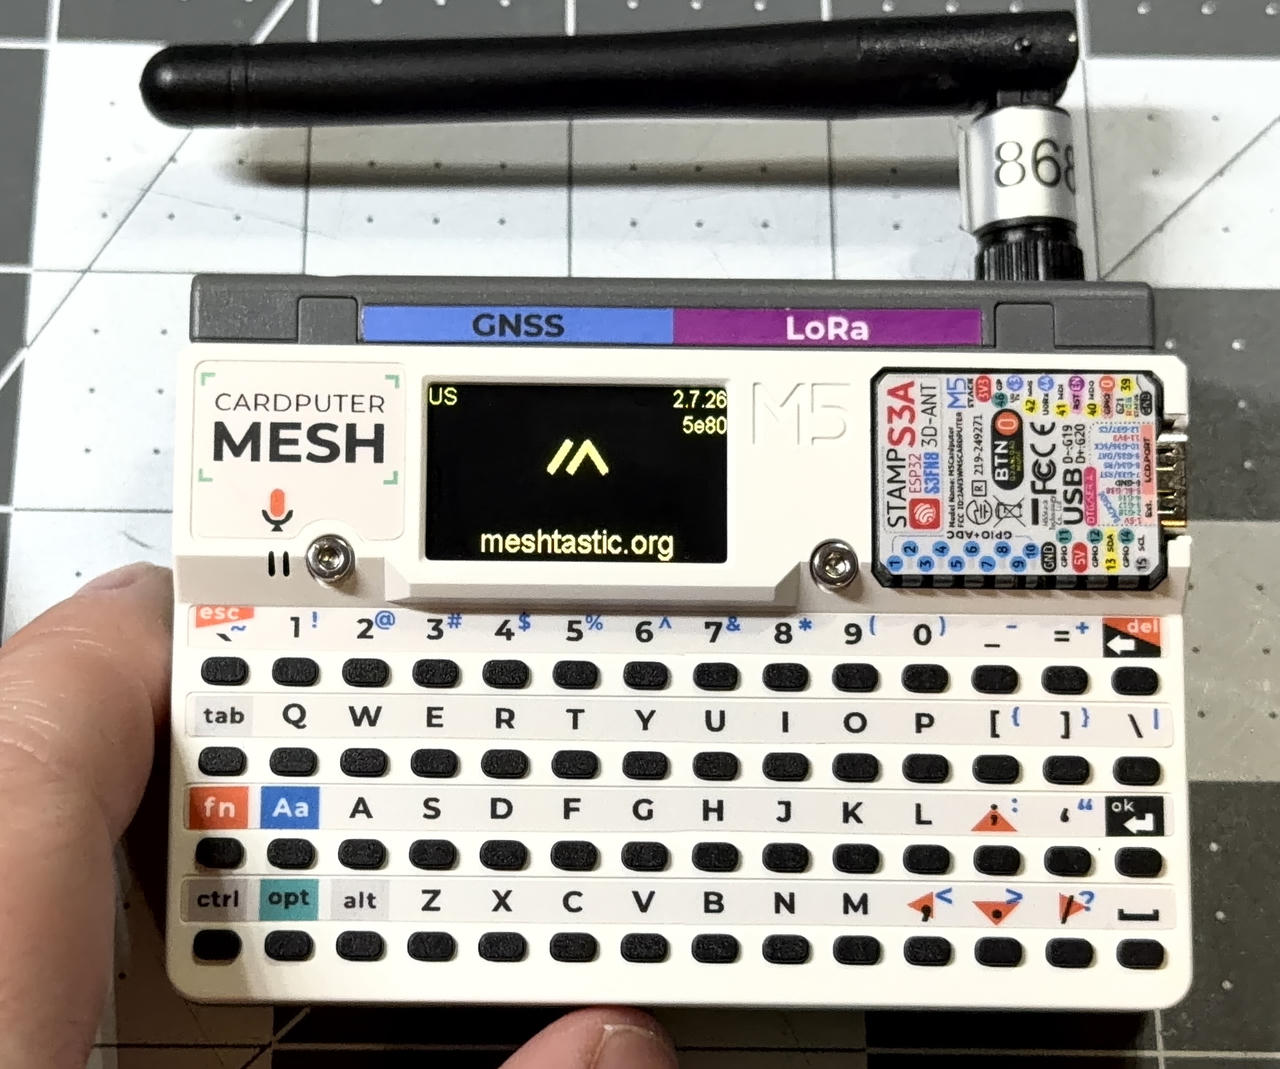
And you're now ready to mesh!
Gotchas
The main gotcha is the device needs to be turned on to charge. Plugging it in will turn the device on, but not charge the battery.
The on/off switch will disconnect the battery from the circuit, so it has to stay on for it to charge. Since the device uses an OLED, I recommend turning of the display to avoid burning in the screen while the device is charging.
Conclusions
The M5 Stack Carputer ADV (or Mesh) is a great self contained Meshtastic device. I like that it doesn't need a phone for it to send/receive messages. It helps drive the point home that it's an independent communication protocol, and it's not tied in any way to existing cell phone or wireless infrastructure. With Launcher, it also makes a great development platform, and good way to try experimental firmware, or custom modifications.